Setting Up FlareVM for Malware Analysis
My experience installing FlareVM on Proxmox for malware reverse engineering, including all the gotchas I encountered. THIS IS NOT A TUTORIAL 🙅♂️
Why I’m Doing This
I FINALLY had the opportunity to grab a malware sample that was sent to my org. A user reported a suspicious email to me (shoutout to them for being on top of it 🌟), and even though our security stack caught it (made it past our email security gateway), I wanted to reverse it and see what would’ve happened if we didn’t have all those protections in place.
Lets install FlareVM to have a space to do this properly.
What is FlareVM?
FlareVM is Mandiant’s Windows-based security distribution for malware analysis. Think of it as the Windows equivalent of REMnux . It comes pre-loaded with a bunch of tools like IDA, x64dbg, Wireshark, and basically everything you need to tear apart malware samples.
Prerequisites
NEVER install FlareVM on a host machine. This is a malware analysis environment that disables all security features. Use a VM only.
Before we start, here’s what FlareVM needs according to the official docs:
- VM only - Never install this on a host machine
- Windows 10 or later
- PowerShell 5 or later
- 60GB disk minimum
- At least 2GB RAM (I bumped mine to 8GB and it still struggled)
- Username without spaces or special characters
- Internet connection
- Tamper Protection and Anti-Malware disabled (preferably via GPO)
- Windows Updates disabled
Part 1: Getting Windows 10 ISO 💿
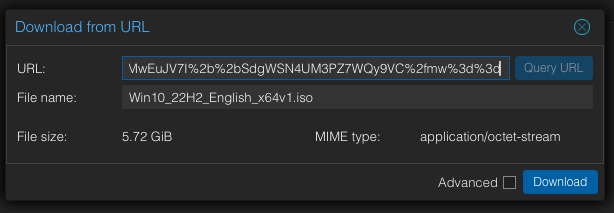
I didn’t have a Windows 10 ISO on hand, so I grabbed one from Microsoft’s official download page:
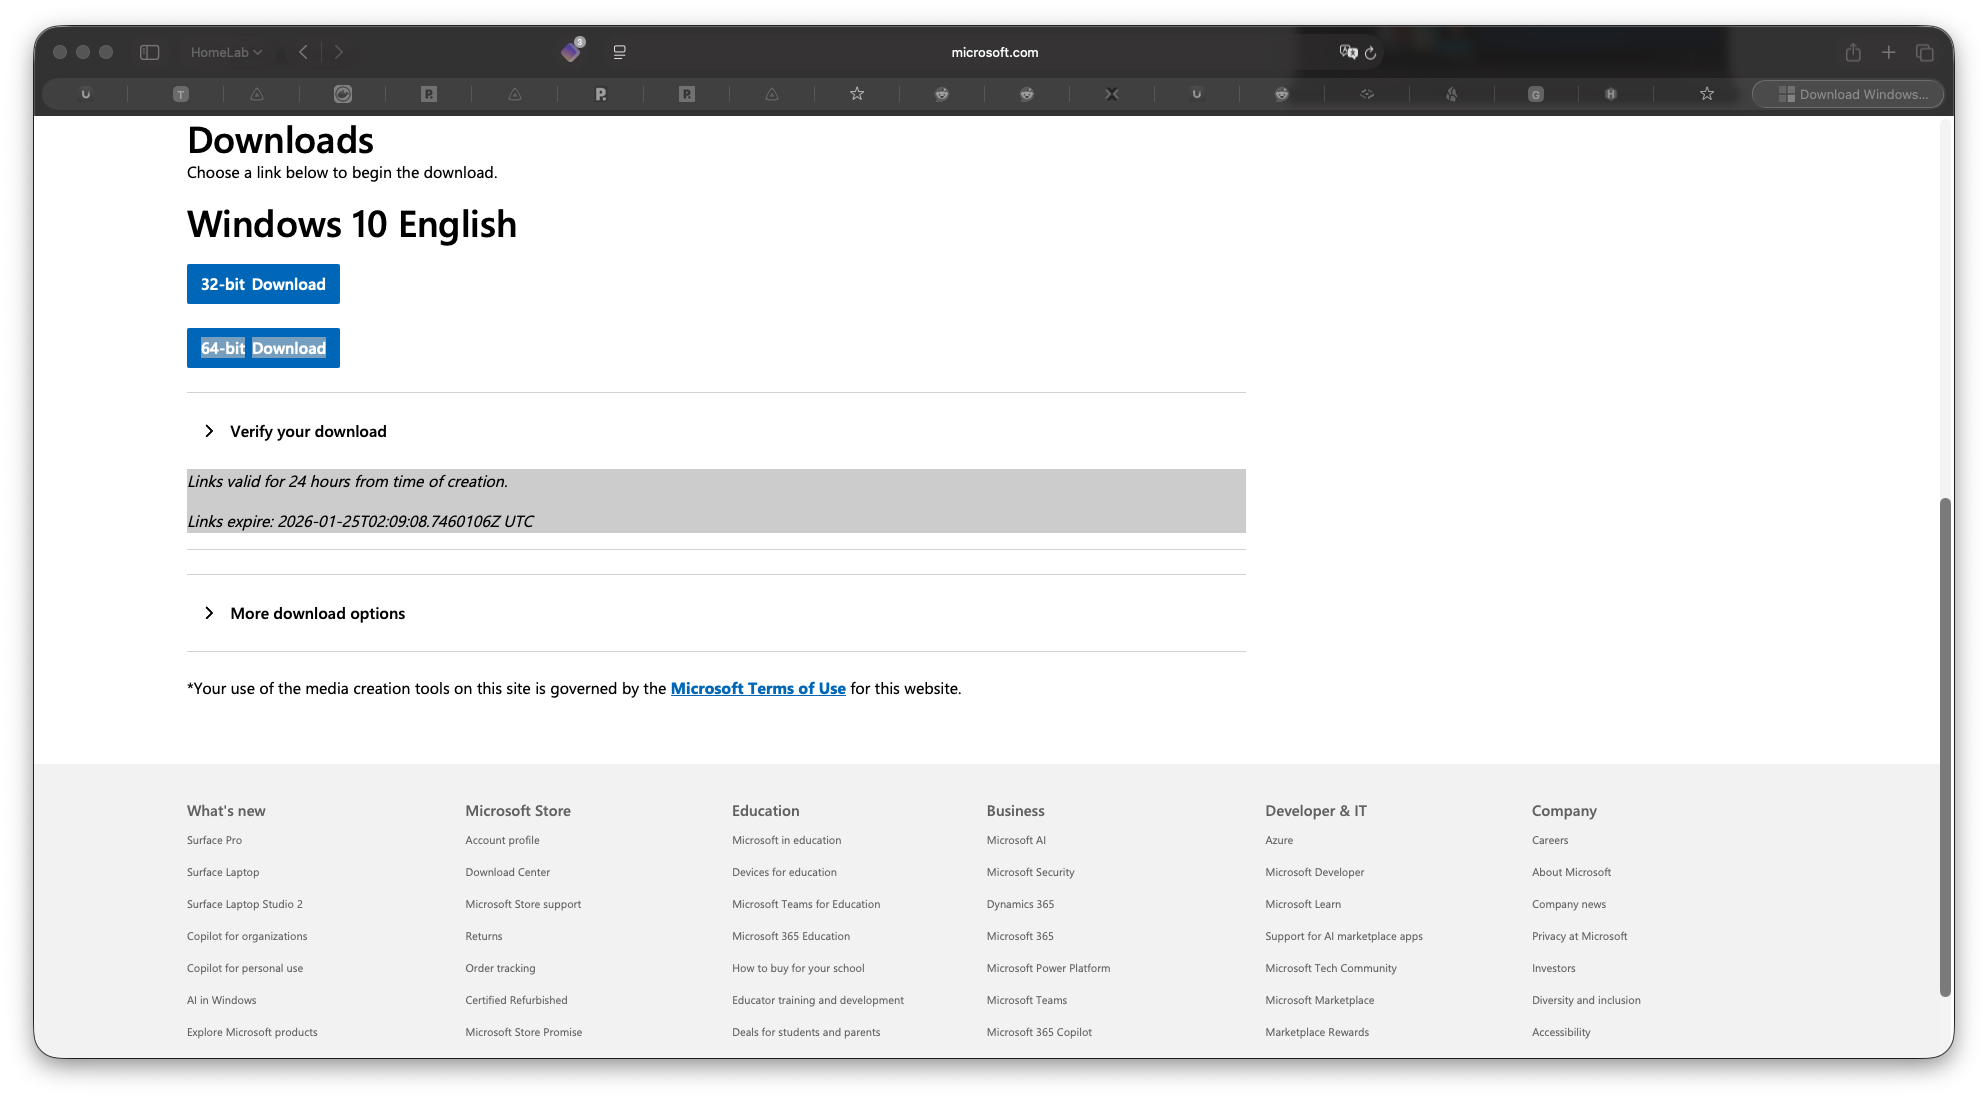
I went to microsoft.com/software-download/windows10ISO , followed the prompts, and copied the download link directly into Proxmox to let it download there.
While that was downloading, time to prep the VM.
Part 2: Creating the VM in Proxmox
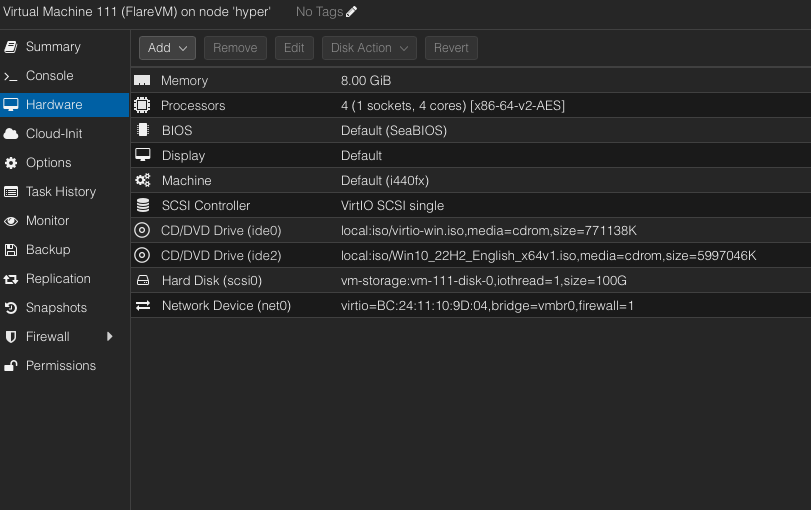
Here are the specs I started with (I’ll adjust these later):
- OS: Windows 10 Pro
- RAM: 8GB (spoiler: might need more)
- Disk: 60GB
- CPU: 4 cores
The VirtIO Driver Gotcha 😬
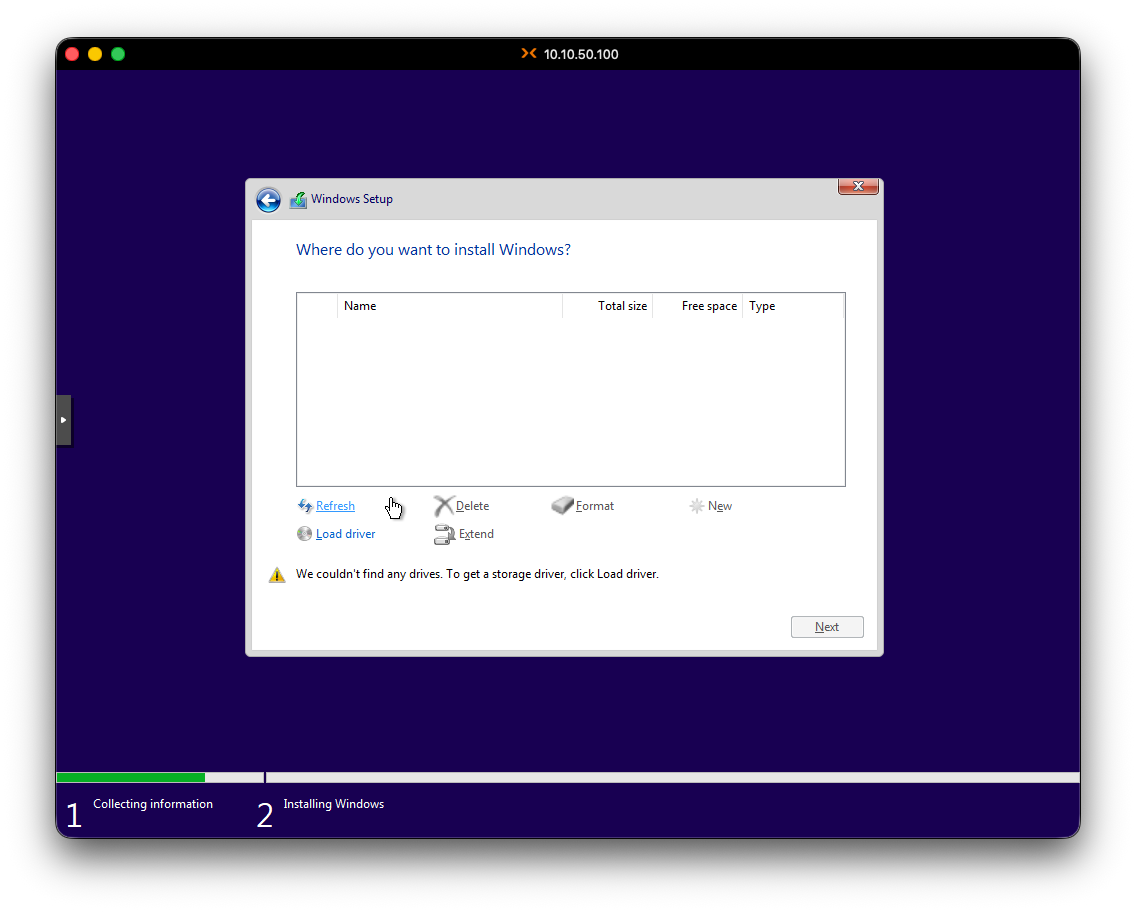
If you’re using Proxmox or KVM, Windows won’t see your disk without VirtIO drivers. Download them before starting the installation!
Here’s something that caught me off guard: after creating the VM and trying to install Windows, I couldn’t see my virtual disk. Turns out Proxmox uses VirtIO devices, and Windows doesn’t have those drivers built-in.
I found this out after some Googling. The fix:
- Download the VirtIO drivers ISO from the virtio-win GitHub (I grabbed the stable version)
- Load it as a second CD-ROM in the VM
- During Windows installation, when it asks where to install, click “Load driver”
- Browse to the VirtIO ISO and select the Windows 10 folder
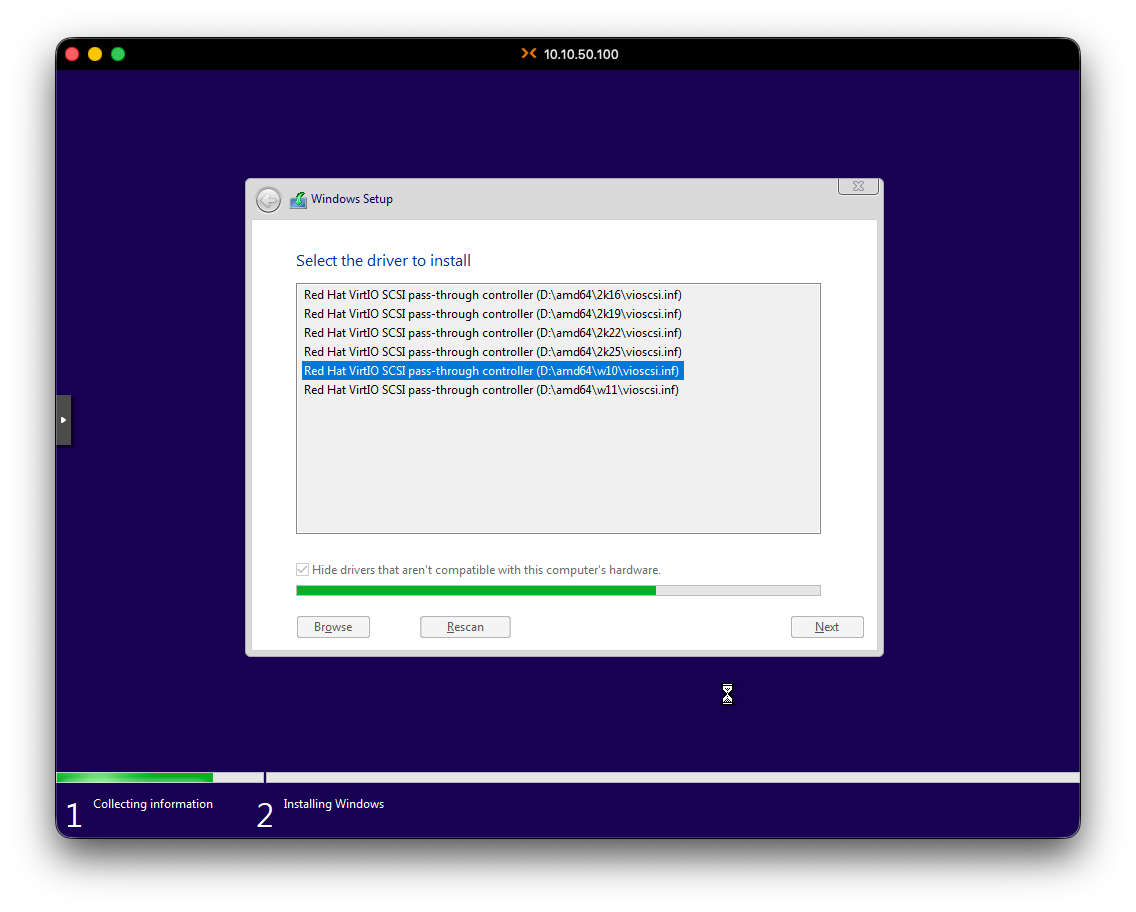
- Now the disk appears (I didnt get a screenshot but the disk showed up I swear 😣)
Part 3: Windows 10 Installation
With the drivers loaded, Windows installation proceeded normally:
- Selected Windows 10 Pro
- Accepted the EULA
- Created user:
jeekwith password**************
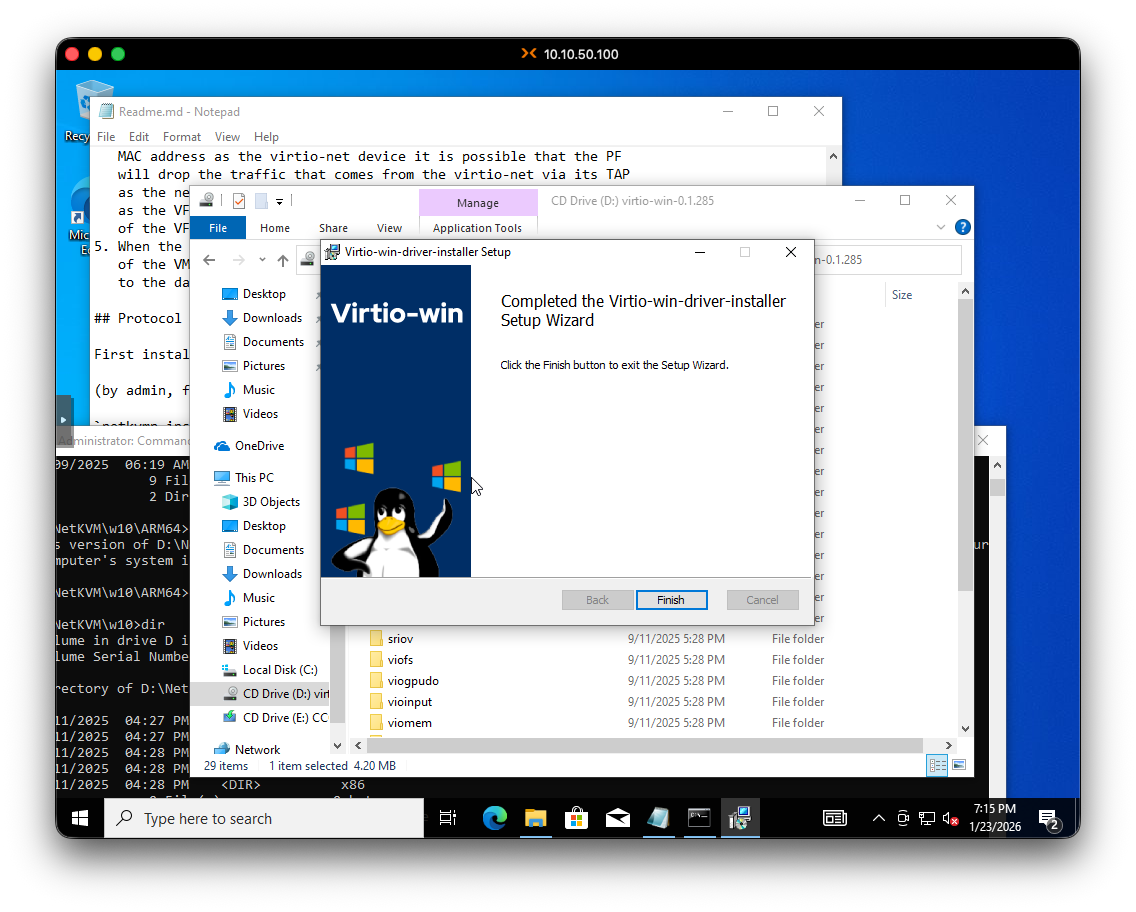
Once inside Windows, I ran the VirtIO driver installer from that same ISO to install the remaining drivers for network, graphics, etc. (It didnt have any network interfaces when it booted)
Okay, Windows 10 installed on Proxmox.
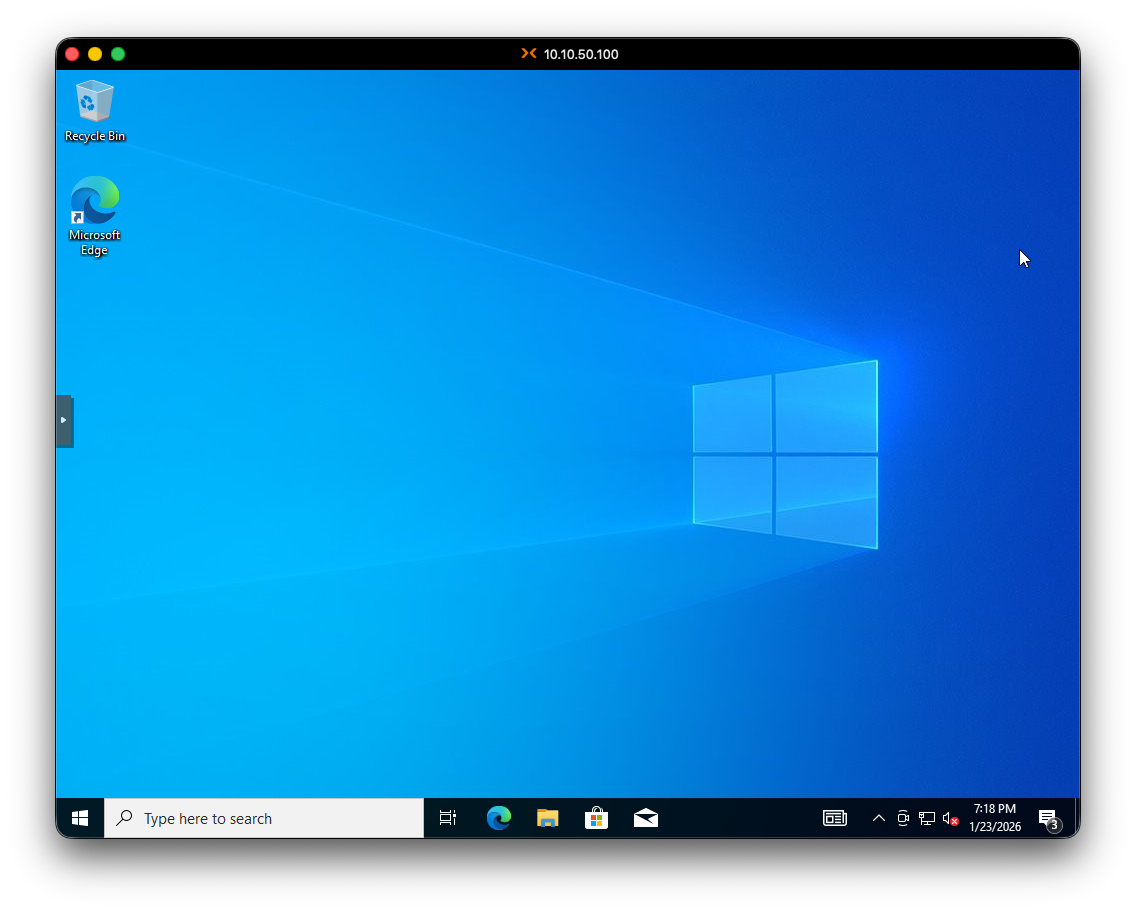
Now for the fun part: disabling all the security features that will fight against FlareVM.
Part 4: Disabling Security Features
Time to kill Defender 😧. FlareVM needs Windows Defender completely dead, along with Tamper Protection and Windows Update. Here’s the process:
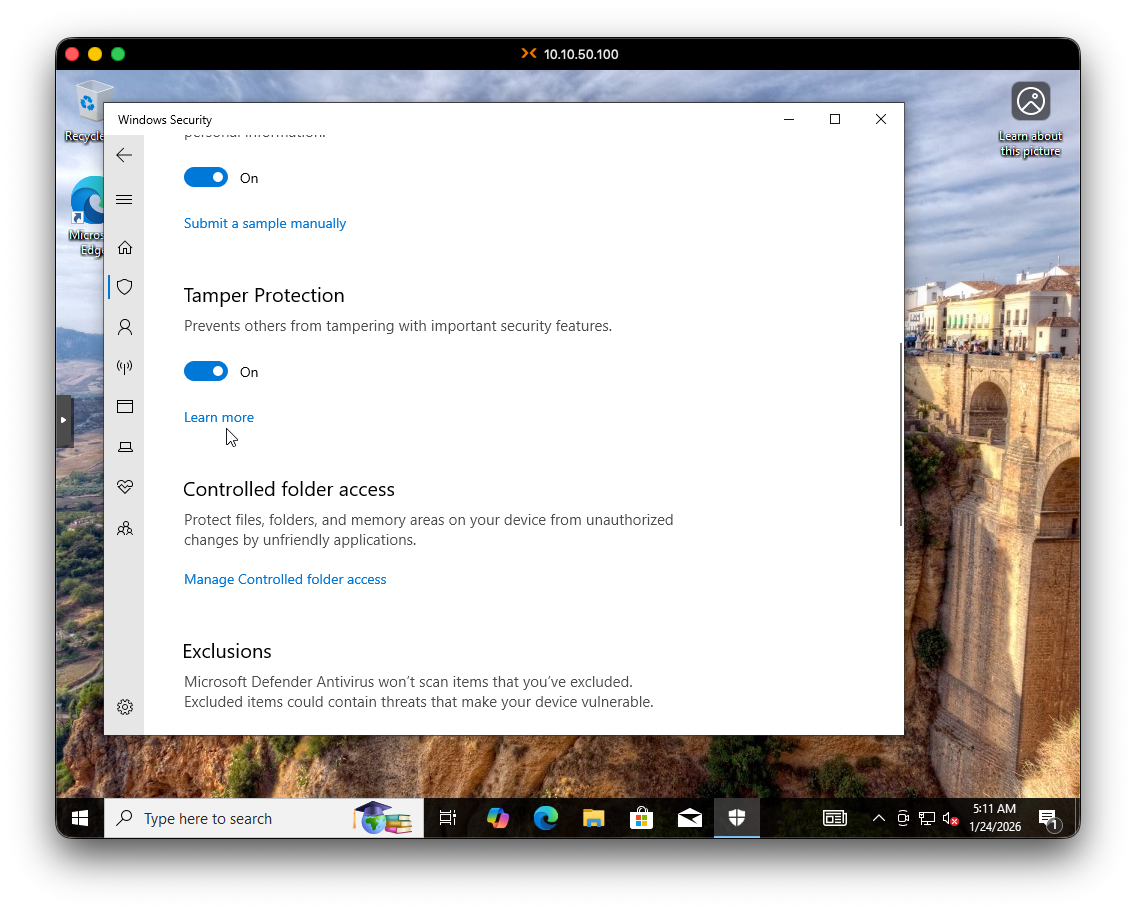
Step 1: Disable Tamper Protection First
You MUST disable Tamper Protection BEFORE modifying Group Policies. If you don’t, Windows will silently ignore your GPO changes and Defender will keep running.
This is critical - you MUST disable Tamper Protection before modifying Group Policies, or Windows will just ignore your GPO changes.
But there’s a catch-22: if you try to disable Tamper Protection while Defender is running, it might NOT stick. Here’s the workaround:
- Open Resource Monitor as admin
- Find the
MsMpEng.exeprocess (Windows Defender) - Suspend the process
- Quickly go to Windows Security > Virus & threat protection settings
- Turn off Tamper Protection
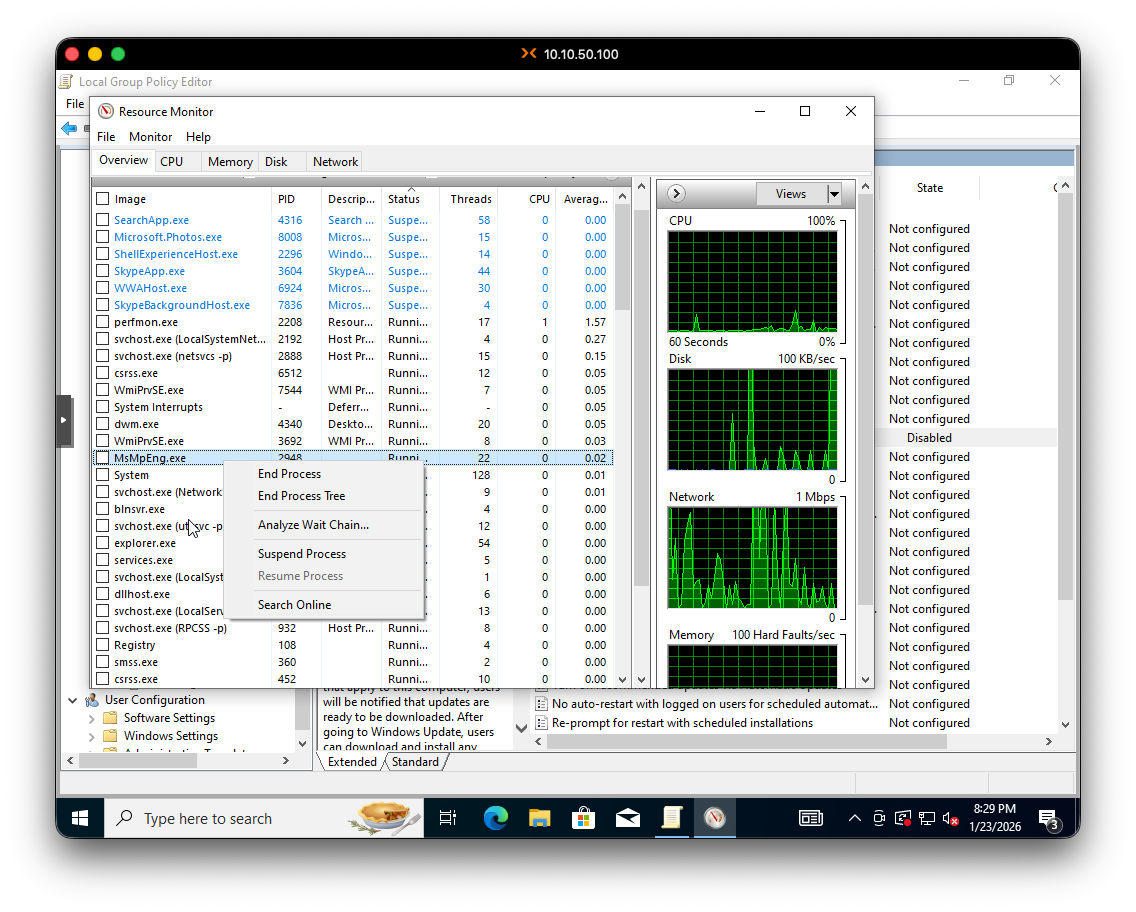

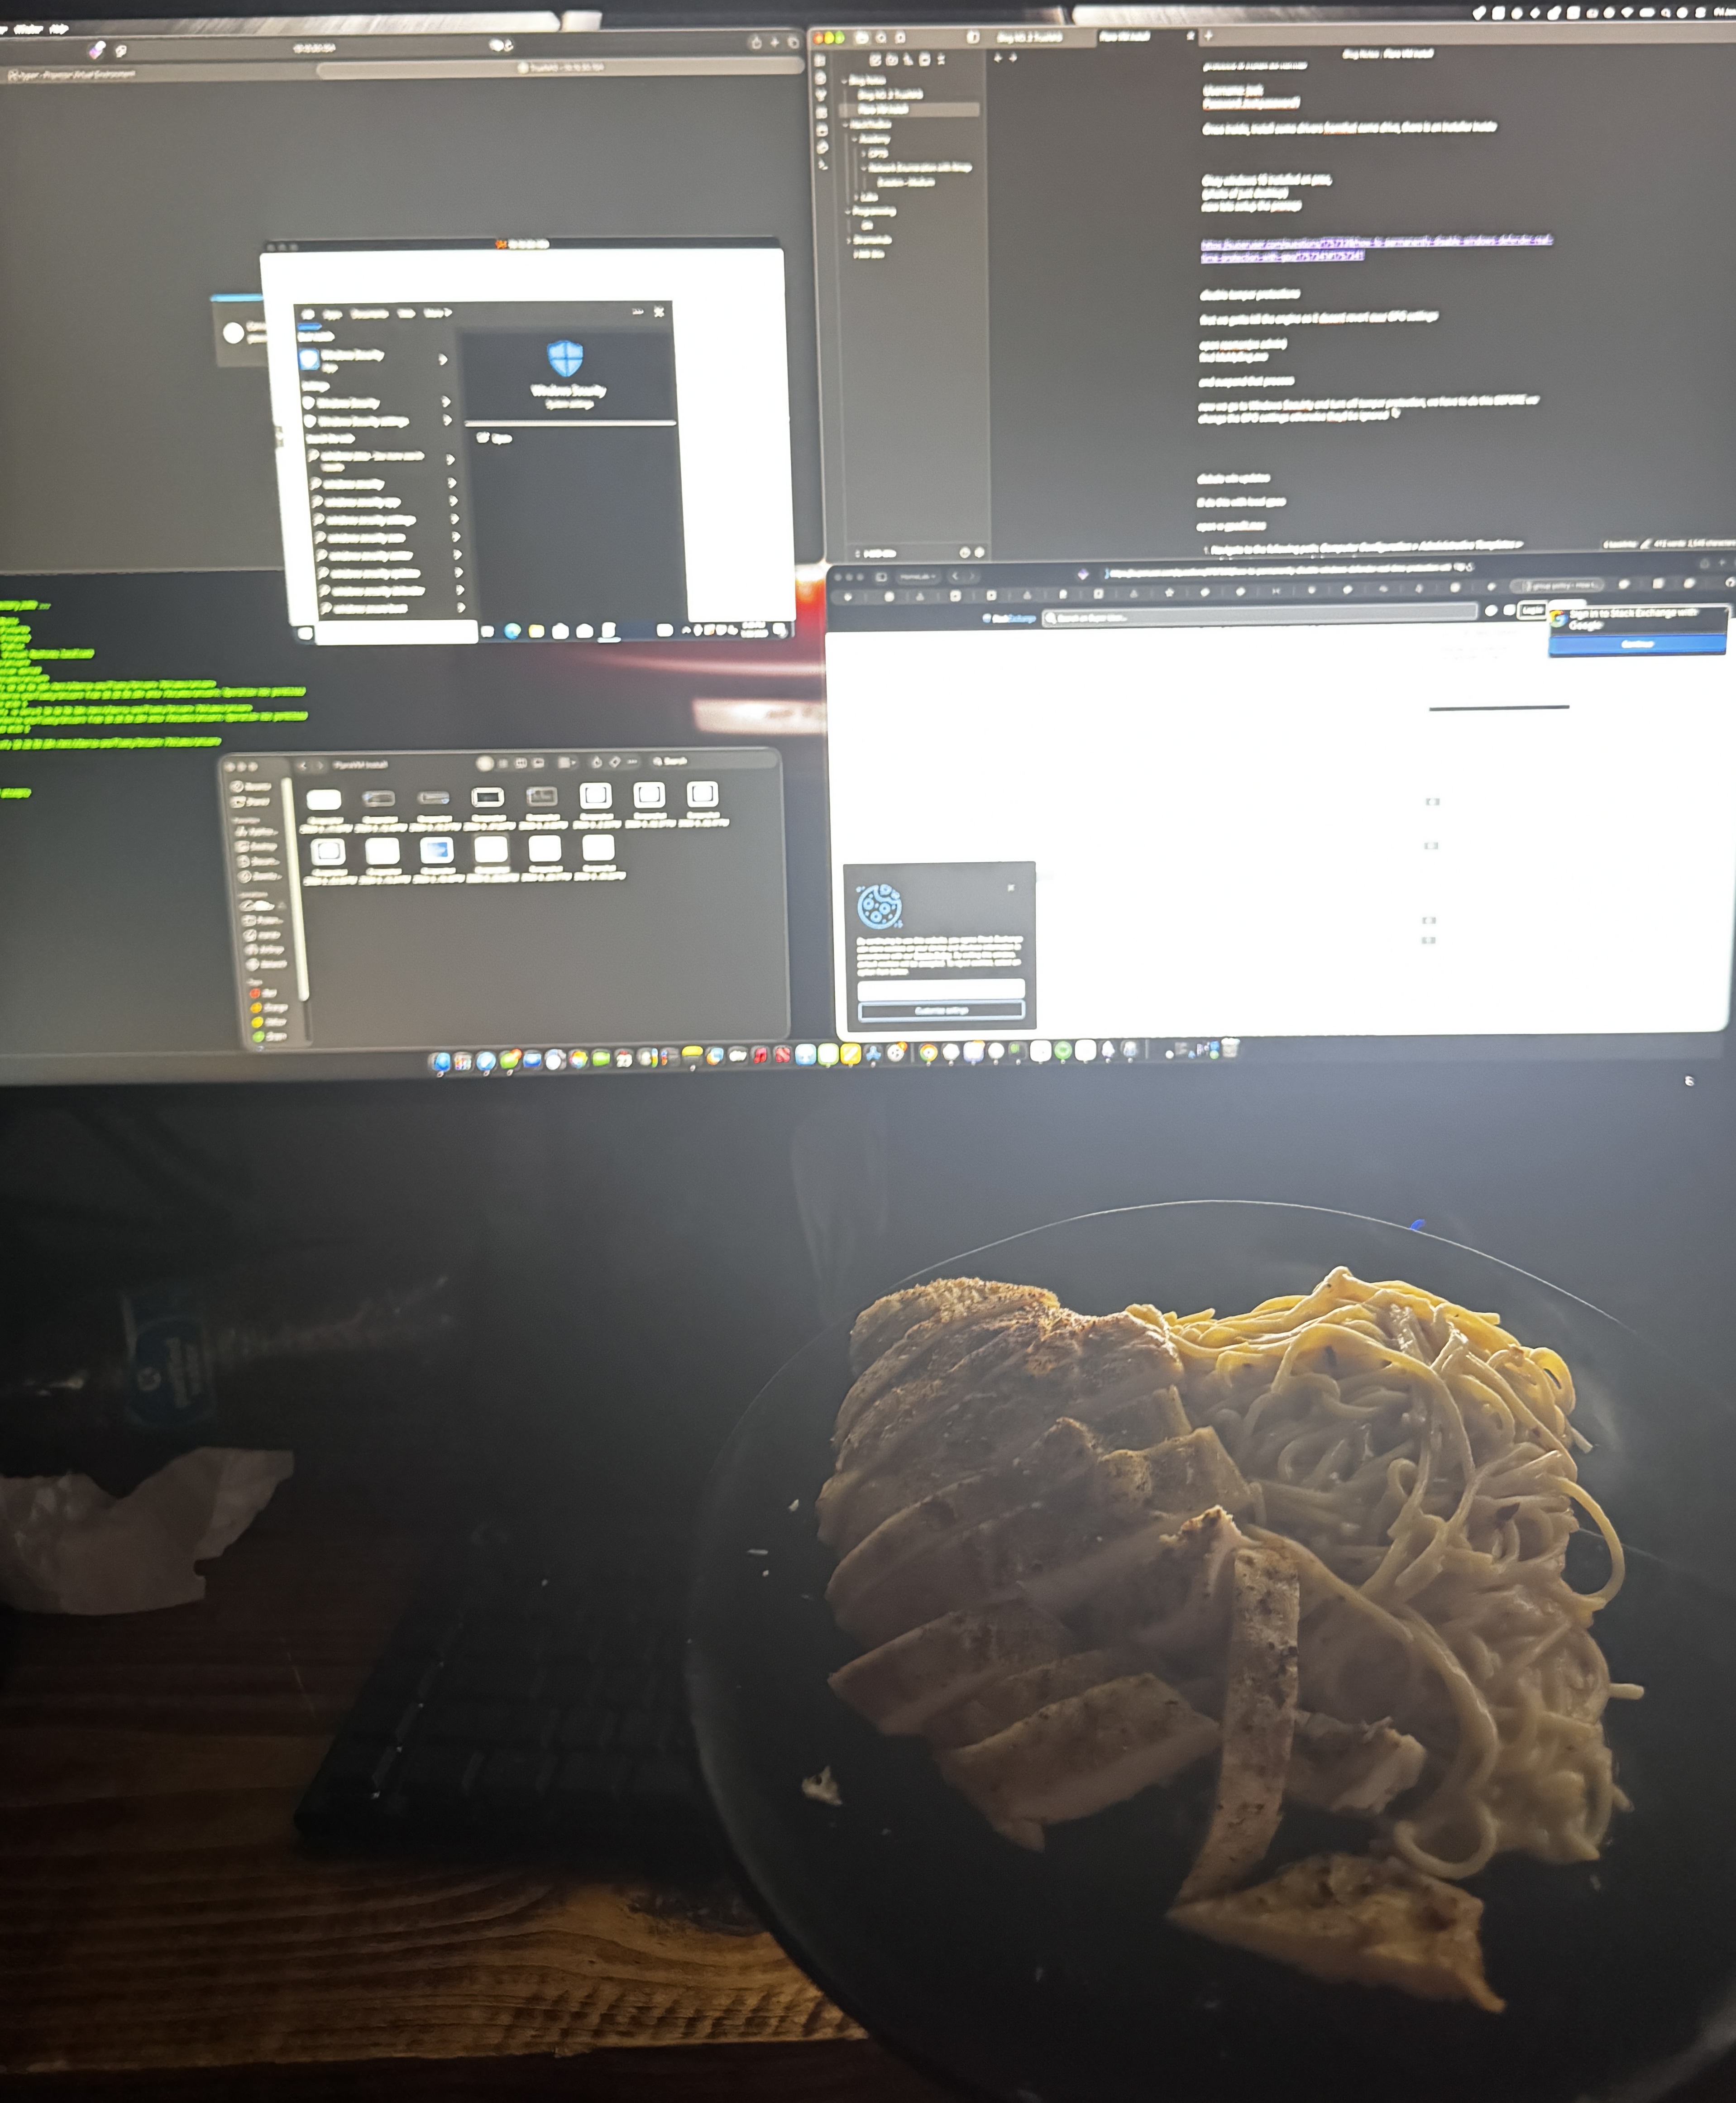
My VM started to struggle at this point. I think 8GB of RAM might not be enough, but it eventually recovered. We’re so back.
ALSO, while I was doing this, I was making some chicken and pasta.
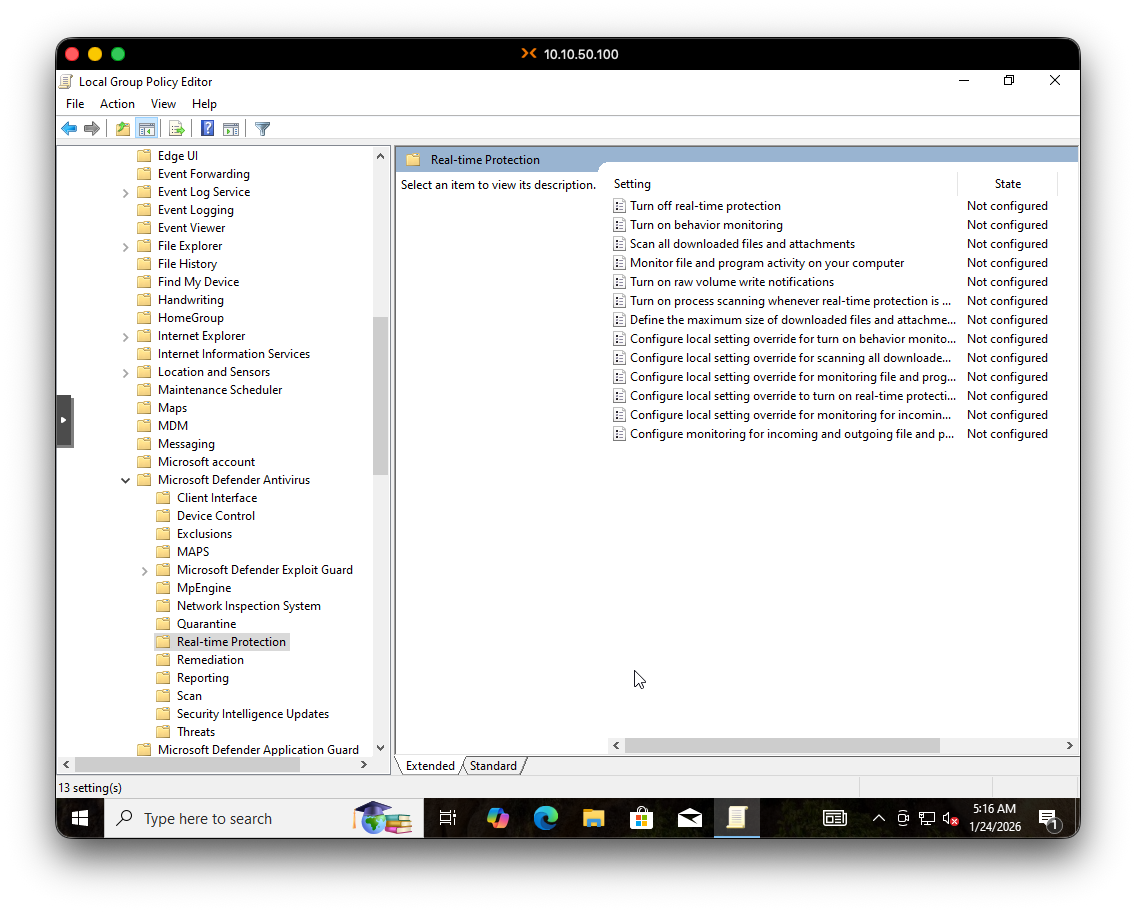
Step 2: Disable Windows Defender via GPO
Now that Tamper Protection is off, we can use Group Policy to permanently disable Defender:
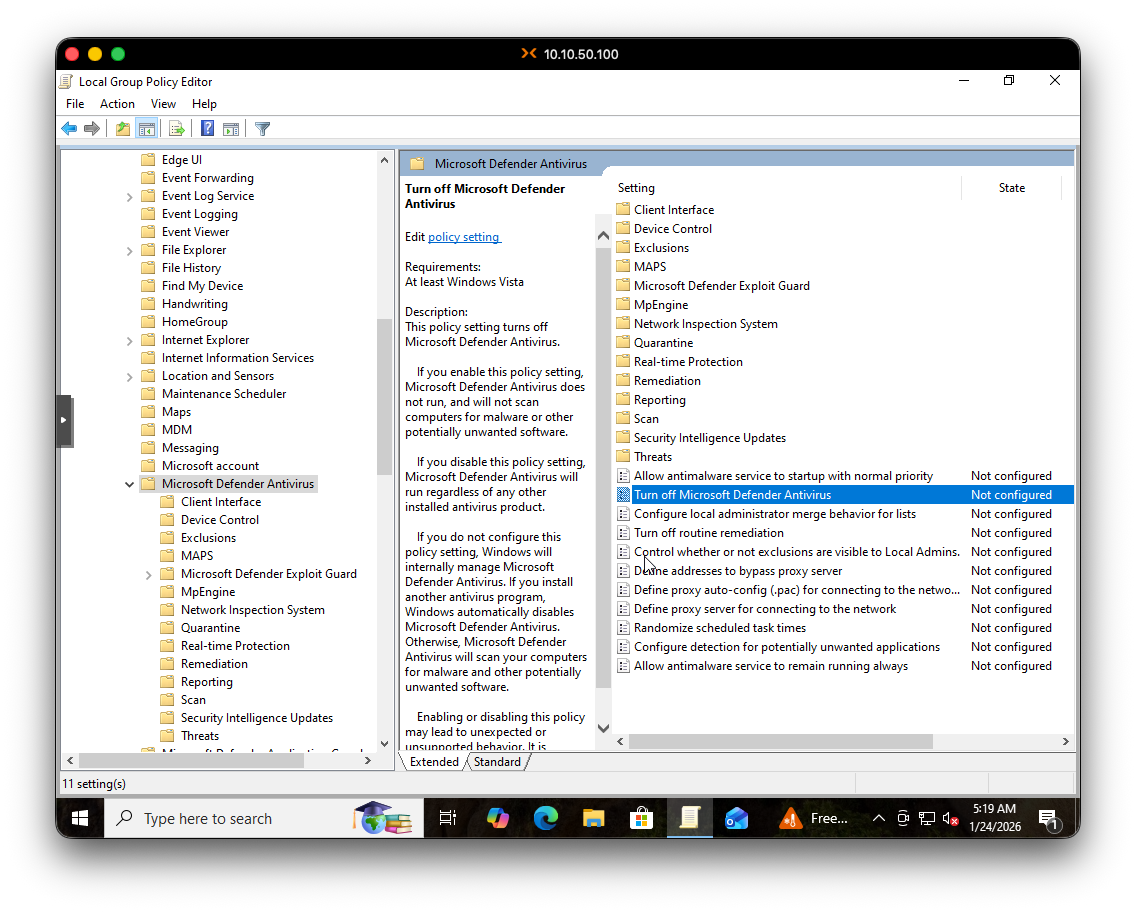
- Open Local Group Policy Editor:
gpedit.msc - Navigate to:
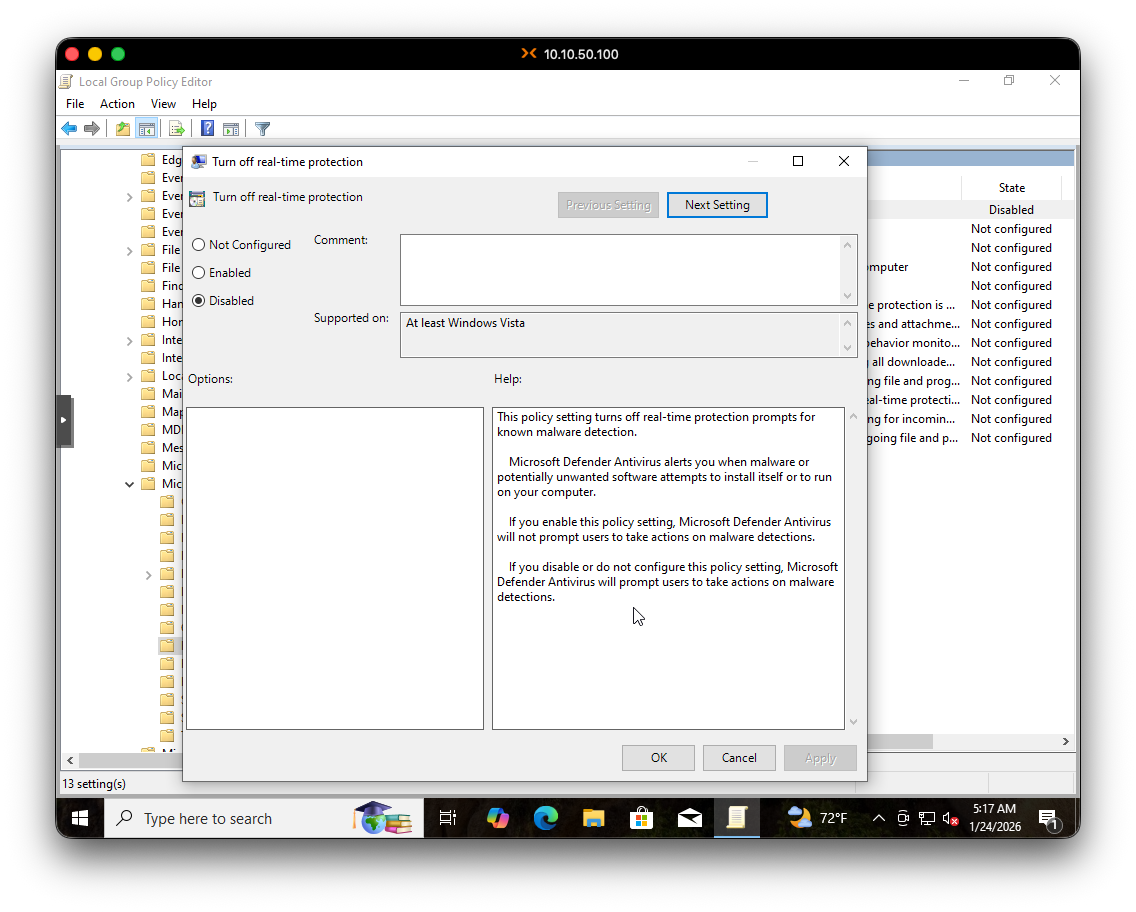
Computer Configuration > Administrative Templates > Windows Components > Microsoft Defender Antivirus > Real-time Protection - Enable “Turn off real-time protection”
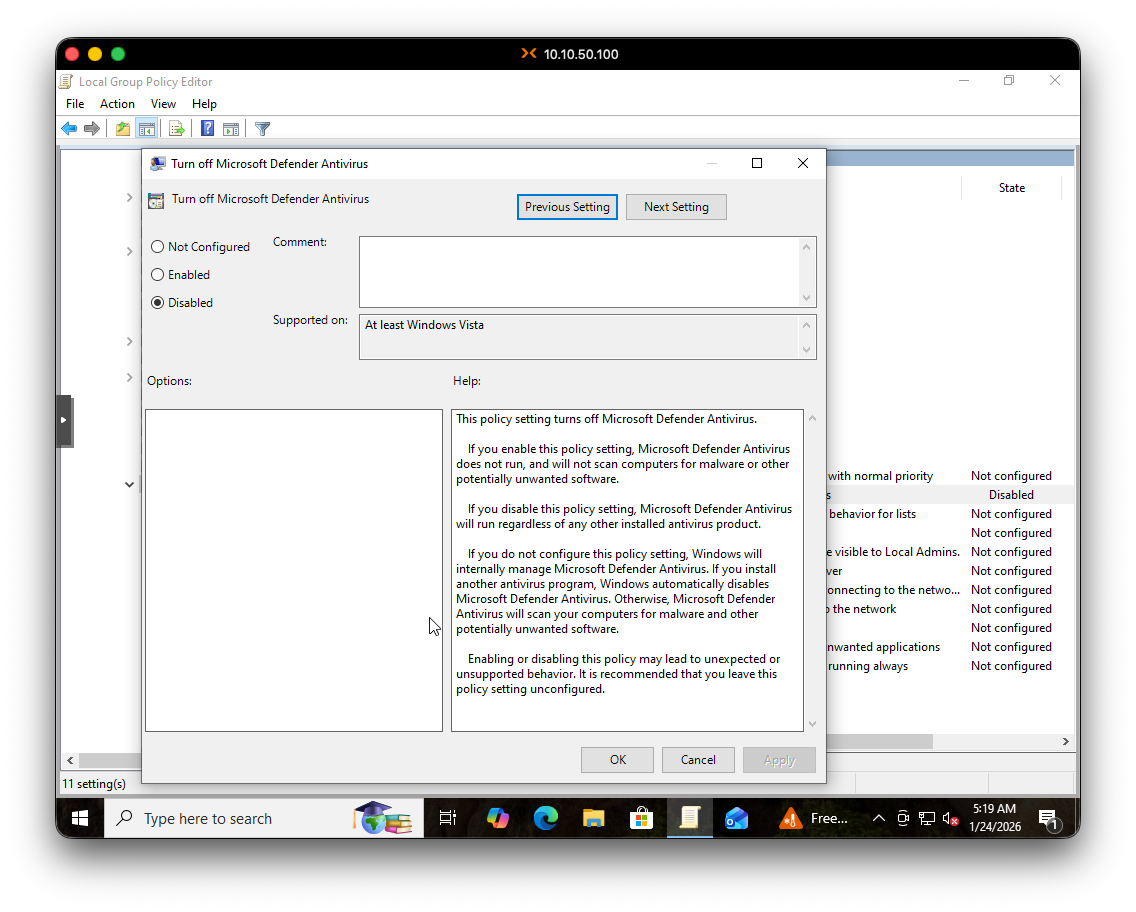
- Go back up one level to
Microsoft Defender Antivirus - Enable “Turn off Microsoft Defender Antivirus”
Step 3: Disable Windows Update via GPO
Last security hurdle:
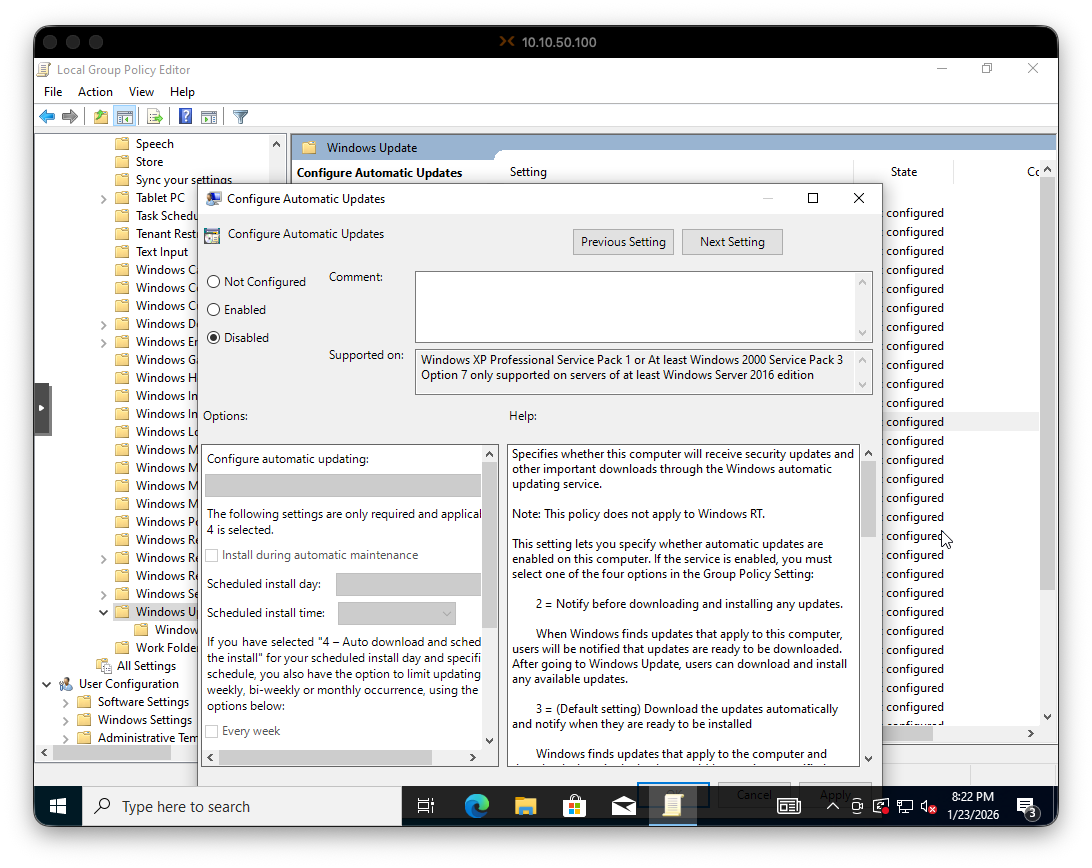
- Still in
gpedit.msc - Navigate to:
Computer Configuration > Administrative Templates > Windows Components > Windows Update - Double-click “Configure Automatic Updates”
- Set it to Disabled
Now reboot to let all the GPO changes take effect.
Step 4: Take a Snapshot
Always take snapshots before major changes. If the FlareVM installation goes sideways, you can roll back faster than reconfiguring Windows from scratch.
Before proceeding with FlareVM installation, I took a snapshot in Proxmox. If anything goes wrong, I can roll back to this point without redoing all the Windows configuration.
Part 5: Installing FlareVM
WE ARE READY TO FLARE 🔥
Open PowerShell as Administrator and let’s…..
Download the Installer
PS C:\Users\jeek> (New-Object net.webclient).DownloadFile('https://raw.githubusercontent.com/mandiant/flare-vm/main/install.ps1',"$([Environment]::GetFolderPath("Desktop"))\install.ps1")Unblock the Script
PS C:\Users\jeek> cd Desktop
PS C:\Users\jeek\Desktop> Unblock-File .\install.ps1Enable Script Execution
PS C:\Users\jeek\Desktop> Set-ExecutionPolicy Unrestricted -Force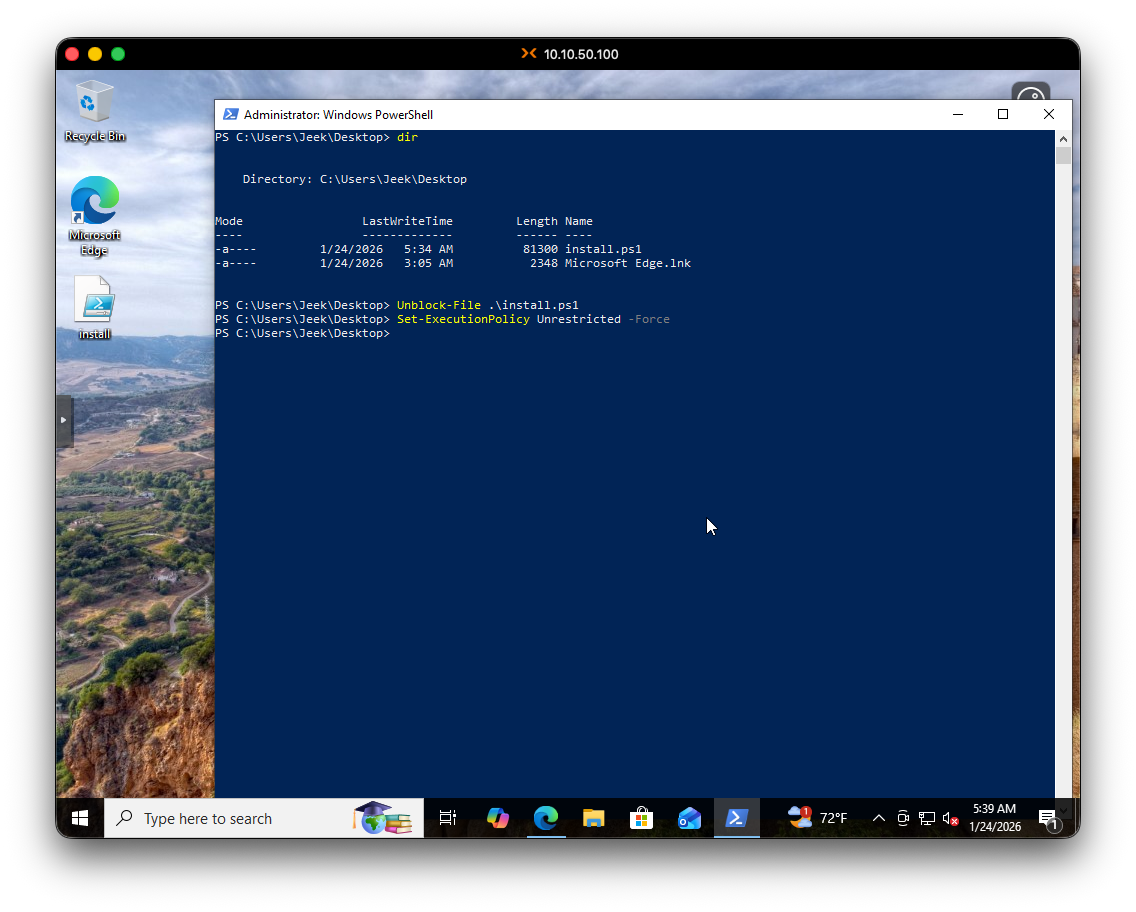
Run the Installer
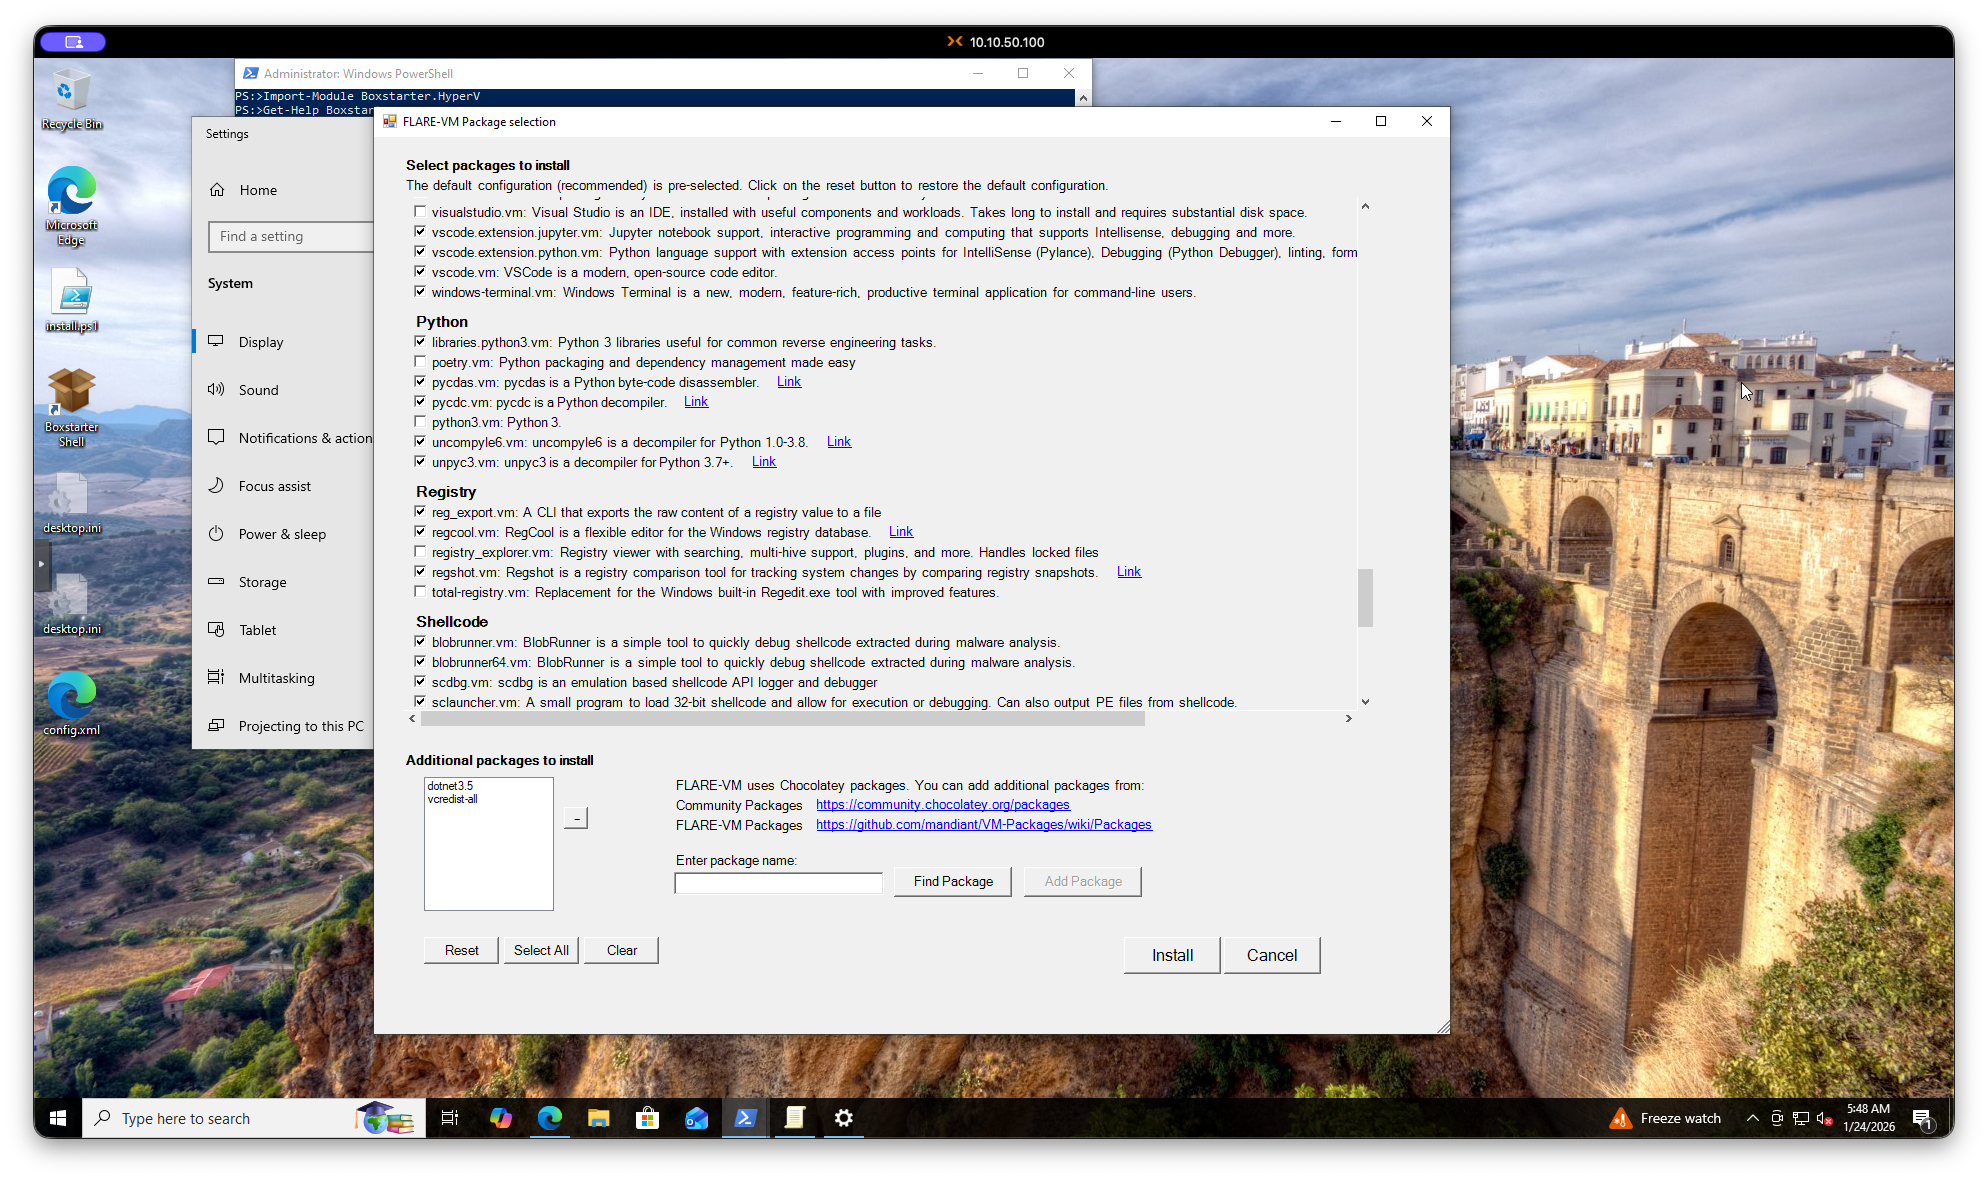
PS C:\Users\jeek\Desktop> .\install.ps1The installer will ask for your password (so it can auto-login during reboots) and then present a package selection screen. I left everything at default.
Part 6: The Long Wait
FlareVM installation takes A WHILE. Plan accordingly - grab some coffee, cook some pasta, or catch up on SOC alerts while you wait.
Now we wait. wait. And wait some more.
I started a screen recording to document the process. The VM rebooted multiple times during installation. At one point, I noticed Windows Defender still blocked a few things, even though I had it disabled in GPO. I manually allowed what it caught and the installation continued.
Two SOC Calls Later…🍍🫧
I was taking a break outside as the installation continued, and I got two separate calls from our SOC:
- First call: User from a client had a successful login from Mexico. Possible false positive, but I notified the team since I don’t have access to their O365 tenant.
- Second call: Different client, alerts firing from a pentest that had entered the exploit phase.
Can’t catch a break in this industry I guess 😫
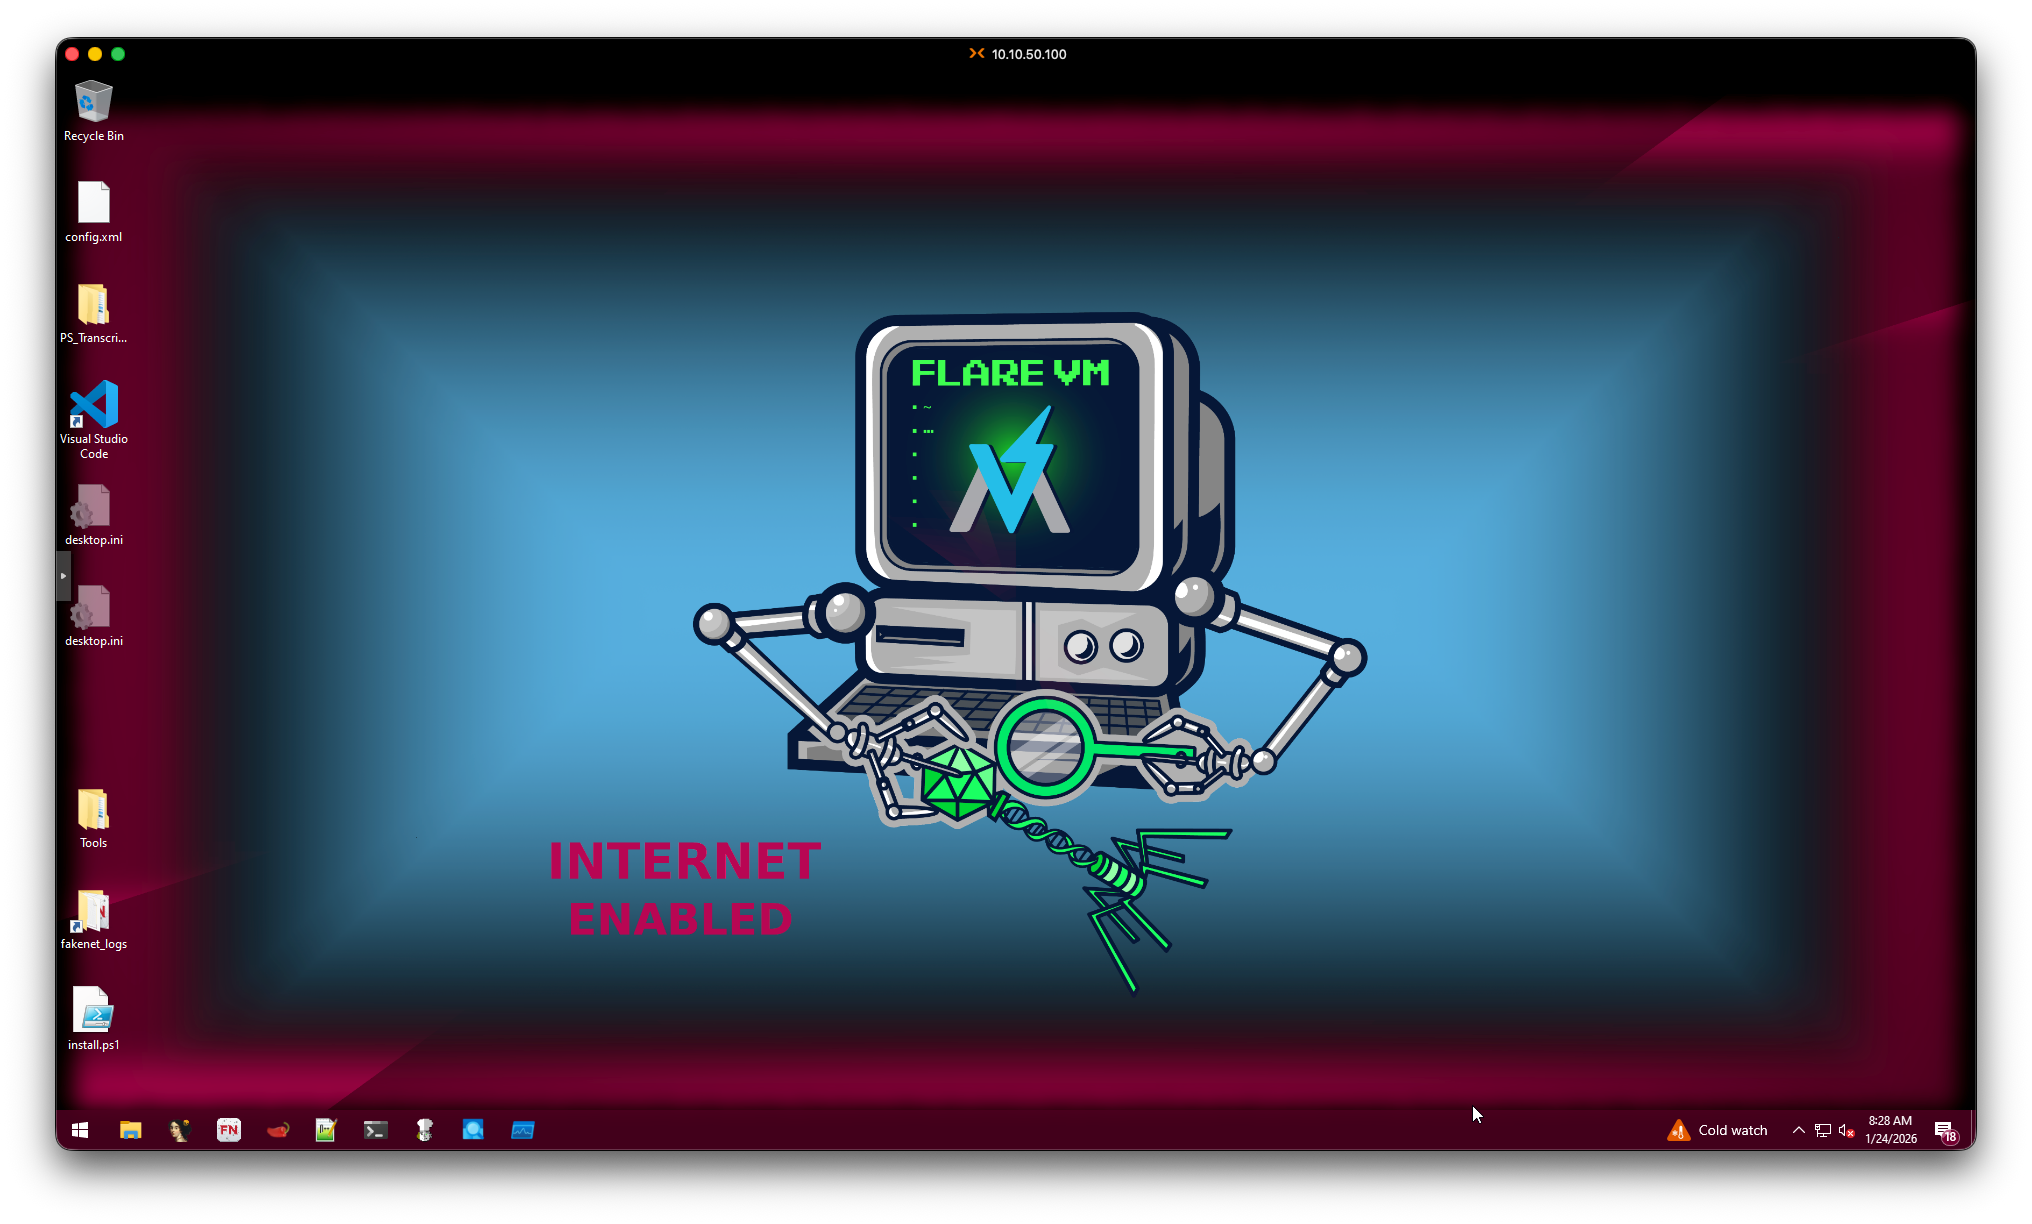
ITS FINISHED!!!!
Finally, after what felt like forever, the installation completed.
Final Thoughts
FlareVM is now installed and ready to go. The whole process took a few hours, mostly due to the lengthy installation and package setup.
Installation Checklist ✅
Here’s a quick reference if you’re setting this up yourself:
- Download Windows 10 ISO
- Download VirtIO drivers ISO (Proxmox/KVM only)
- Create VM with adequate resources (8GB+ RAM, 60GB+ disk)
- Install Windows 10 with VirtIO drivers
- Suspend
MsMpEng.exeprocess - Disable Tamper Protection
- Disable Windows Defender via GPO
- Disable Windows Update via GPO
- Reboot and verify settings stuck
- Take snapshot
- Download FlareVM installer
- Unblock and run installer
- Wait (seriously, it takes forever)
- Take final snapshot
Key Takeaways
- VirtIO drivers are mandatory for Proxmox/KVM - download before you start
- Disable Tamper Protection FIRST - GPO changes won’t stick otherwise
- Give the VM more resources than the minimum - 8GB RAM is barely enough
- Take snapshots liberally - they’re free insurance
- The installation takes hours - plan for 3-4 hours minimum(if you’re mutlitasking like I was🍝)
Next up: I’ll be using this setup to reverse that malware sample from work. That’ll PROBABLY be the next blog post we will see.
Until then, stay safe out there.